✓ #1 Authorized Overland(ish) Dealer ✓ FAST Shipping: In Stock and Ready to Ship ✓ Lowest Price Guaranteed ✓ Questions?- Call 833-322-6289
FREE NIKWAX TENT & GEAR CARE DUO
Now Until June 1st, get a Free NikWax Tent & Gear Care Protection Kit. No Code Needed!
Now Taking PREORDERS
The Overland(ish) Basecamp SOLO tents will be arriving end of March and shipping out first week of April!
Overlandish Basecamp SOLO Tent For Sale, Fits 1-2 People
The Basecamp SOLO is designed for adventurers who seek simplicity, comfort, and a deep connection with the outdoors. Perfect for 1-2 people, it offers a cozy haven after a long day of exploration. Its triple-layer insulation keeps you comfortable in any season, while the quick setup ensures more time to soak in nature’s beauty. Lightweight and easy to pack, it’s built for those who value freedom and flexibility on their journeys. Whether you’re chasing mountain sunrises or stargazing by the fire, the Basecamp SOLO is your personal escape into the wild.
Upon receiving your Overland(ISH) Basecamp Shelter, please start by removing everything from its packaging and taking note that you have all the items.
Now it's time to set up your shelter for the first time.
It's best not to open your shelter on cement or asphalt. A grassy open space or carpeting in your home on a slick surface works great. For a first time setup and inspection, the footprint is not necessary.
If you purchased the Weather Pack, pull out the footprint and lay that out now. Next, grab your Basecamp and bring it to the center of your footprint (if being used) with the hubs touching the center of the footprint.
Lay your shelter on its side with the hub in the center of your footprint and remove the strap. Unfold your shelter gently and make sure you take note of the inside versus the outside material. The poles are on the inside of the shelter, and all of the logos are on the outside. Take care to not open the shelter inside out. We are not responsible for any damages caused by incorrectly opening the shelter.
DO NOT DEPLOY THE SHELTER INSIDE OUT
Your floor will be half zipped in but attached, so be careful about pulling any loose material, as you might accidentally damage a zipper. Complete the unfolding of the Basecamp so that the roof is parallel to the ground. Now walk around the shelter, and one by one, grab the center pull strap attached to the eyelets for each wall, pulling out each wall until they pop into place. Once they are all set up, step inside and push the hub on the roof up until it pops into place - and that's it! Now it's time to start making your shelter a home!
Now since this is the first time you're opening your new Basecamp Shelter, let's just make sure everything is A-OK. Inspect it all now before you take it out into the wild. Remember when pulling your shelter out of the box that the floor is half zipped so don't go tugging on some random piece of material - this could damage a zipper. Once your shelter is deployed, walk around the outside, making sure that all the eyelets are nice and snug. If there are any loose eyelets, now is a good time to tighten them up.
The zippers on your new shelter might start out a little difficult to pull, due to tension in the fabric. This is normal, and as the material breaks in like your favorite pair of jeans, the zippers will become easier to pull. These are high quality YKK zippers, they can handle it!
How to deploy your Rainfly
Find your Weather Pack and remove your Rainfly. Making sure the logos are facing the sky, throw it over the roof of your Basecamp Shelter. If you need to, you can always drop the roof from the inside of the shelter as it may make it easier for you. (Note that under each wing of your rainfly there is a loop for ease of setup for one person in adverse weather conditions).
Once you have the Rainfly lined up so that the roof vents are in line with each other, walk around your shelter attaching the straps under the wings of the Rainfly to each of the eyelets on the exterior walls. Once you have all sides connected, use your included screw stakes and guy lines to secure the fly to the ground. Start by removing your first Rainfly wing from the eyelet and with the stake/guyline set, pull the wing of the shelter as far from that shelter as possible. This is important, as the farther you pull it out the more ventilation you get. It can be set up as close or far as you like, there is no “correct” distance. Finish by walking around your shelter securing each wing (try to keep the distances from the shelter as uniform as possible - because we all like a good looking campsite, of course!)
Basecamp Shelter for different weather conditions
Your Basecamp Shelter has a few alternate ways to be set up based on different weather conditions.
When it's hot out -
Add a portable AC unit for optimal cooling on hot days and don't let mother nature dictate your comfort. Here you would just seal up your shelter and push that AC, find what the lowest setting on your unit is that still cools your space so you can conserve that power…if power isn't an issue then blast that thing!
What if it's super hot and you want to take advantage of all of the ventilation the Basecamp has to offer without the whole campsite seeing into your shelter? Easy, just use your Rainfly and remember to pull it as far from the Basecamp as you can. This allows you to have open windows and ventilation so you can take advantage of any little breeze mother nature throws at you, safe from outside view.
When its cold out -
Depending on how you choose to heat your shelter there are a few ways to set yourself up.
We recommend a diesel heater as this produces a dry heat perfect to control condensation, especially when paired with the ventilation and condensation control ports on the roof.
If you want to use a propane heater, you just need to make sure to vent properly or it could be dangerous, as propane heaters produce CO2. If you choose this route, make sure to use proper safety meter devices with alarms.
If you're going out with no heater and relying simply on body heat just remember, it's a big space so make sure to bring ALL your friends! But in all seriousness, a single person will raise the internal temp of a Basecamp 7-10 degrees, so the more bodies you add the warmer it gets.
When it’s wet and rainy out -
Setting up correctly for the rain is important and easy. First, decide if you need to use a footprint - if the ground is already wet, then the answer is YES. If the ground is dry but you know it's going to rain later you don't necessarily need the footprint, but this is left up to your own judgment.
Once your Footprint is set up, deploy your Basecamp. Next roll your footprint at each side of your shelter and tuck it under the skirt, placing the rolled material under the shelter but in the little void on the inner side of the wall. When you get to the landing pad part of the footprint, fold it in half and in half again and then roll and be sure to stuff that material nicely. Lastly, go around the shelter and tuck the attached skirt under the shelter as well, leaving no place for water to accumulate.
Once you've rolled and tucked that footprint, set up the Rainfly included in the Weather Pack - remember to stake down those wings as far from the shelter as space allows, as the more water you sheet away from the shelter, the better. A little tip is that you can use one stake for both the wall and the fly, just make sure wind conditions aren't high, as this will put double the strain on that stake.
At this point you're ready for the wet stuff, you can now use your windows even during full rain to take full advantage of all of your Basecamp’s ventilation.
When it’s windy out -
The Basecamp is a fortress of a shelter, with the extra tension engineered into the walls of the Basecamp we have field tested it in all wind conditions.
If you don't feel like staking it down, which in most cases is fine, our Basecamp has been tested to around 25 mph gusts.
Planning on getting hit by high winds? Make sure to stake your shelter down properly, Use your included screw stakes and paracord to tie down to the steel eyelet at the center of each wall. Tie off and come down at a 45 degree angle making sure your stake is secured and strong, and you are now ready to withstand wind speeds of over 80 mph. Remember, for high winds use separate stakes for your shelter and your rainfly.
Description
Overlandish Basecamp SOLO Tent For Sale, Fits 1-2 People
The Basecamp SOLO is designed for adventurers who seek simplicity, comfort, and a deep connection with the outdoors. Perfect for 1-2 people, it offers a cozy haven after a long day of exploration. Its triple-layer insulation keeps you comfortable in any season, while the quick setup ensures more time to soak in nature’s beauty. Lightweight and easy to pack, it’s built for those who value freedom and flexibility on their journeys. Whether you’re chasing mountain sunrises or stargazing by the fire, the Basecamp SOLO is your personal escape into the wild.
Upon receiving your Overland(ISH) Basecamp Shelter, please start by removing everything from its packaging and taking note that you have all the items.
Now it's time to set up your shelter for the first time.
It's best not to open your shelter on cement or asphalt. A grassy open space or carpeting in your home on a slick surface works great. For a first time setup and inspection, the footprint is not necessary.
If you purchased the Weather Pack, pull out the footprint and lay that out now. Next, grab your Basecamp and bring it to the center of your footprint (if being used) with the hubs touching the center of the footprint.
Lay your shelter on its side with the hub in the center of your footprint and remove the strap. Unfold your shelter gently and make sure you take note of the inside versus the outside material. The poles are on the inside of the shelter, and all of the logos are on the outside. Take care to not open the shelter inside out. We are not responsible for any damages caused by incorrectly opening the shelter.
DO NOT DEPLOY THE SHELTER INSIDE OUT
Your floor will be half zipped in but attached, so be careful about pulling any loose material, as you might accidentally damage a zipper. Complete the unfolding of the Basecamp so that the roof is parallel to the ground. Now walk around the shelter, and one by one, grab the center pull strap attached to the eyelets for each wall, pulling out each wall until they pop into place. Once they are all set up, step inside and push the hub on the roof up until it pops into place - and that's it! Now it's time to start making your shelter a home!
Now since this is the first time you're opening your new Basecamp Shelter, let's just make sure everything is A-OK. Inspect it all now before you take it out into the wild. Remember when pulling your shelter out of the box that the floor is half zipped so don't go tugging on some random piece of material - this could damage a zipper. Once your shelter is deployed, walk around the outside, making sure that all the eyelets are nice and snug. If there are any loose eyelets, now is a good time to tighten them up.
The zippers on your new shelter might start out a little difficult to pull, due to tension in the fabric. This is normal, and as the material breaks in like your favorite pair of jeans, the zippers will become easier to pull. These are high quality YKK zippers, they can handle it!
How to deploy your Rainfly
Find your Weather Pack and remove your Rainfly. Making sure the logos are facing the sky, throw it over the roof of your Basecamp Shelter. If you need to, you can always drop the roof from the inside of the shelter as it may make it easier for you. (Note that under each wing of your rainfly there is a loop for ease of setup for one person in adverse weather conditions).
Once you have the Rainfly lined up so that the roof vents are in line with each other, walk around your shelter attaching the straps under the wings of the Rainfly to each of the eyelets on the exterior walls. Once you have all sides connected, use your included screw stakes and guy lines to secure the fly to the ground. Start by removing your first Rainfly wing from the eyelet and with the stake/guyline set, pull the wing of the shelter as far from that shelter as possible. This is important, as the farther you pull it out the more ventilation you get. It can be set up as close or far as you like, there is no “correct” distance. Finish by walking around your shelter securing each wing (try to keep the distances from the shelter as uniform as possible - because we all like a good looking campsite, of course!)
Basecamp Shelter for different weather conditions
Your Basecamp Shelter has a few alternate ways to be set up based on different weather conditions.
When it's hot out -
Add a portable AC unit for optimal cooling on hot days and don't let mother nature dictate your comfort. Here you would just seal up your shelter and push that AC, find what the lowest setting on your unit is that still cools your space so you can conserve that power…if power isn't an issue then blast that thing!
What if it's super hot and you want to take advantage of all of the ventilation the Basecamp has to offer without the whole campsite seeing into your shelter? Easy, just use your Rainfly and remember to pull it as far from the Basecamp as you can. This allows you to have open windows and ventilation so you can take advantage of any little breeze mother nature throws at you, safe from outside view.
When its cold out -
Depending on how you choose to heat your shelter there are a few ways to set yourself up.
We recommend a diesel heater as this produces a dry heat perfect to control condensation, especially when paired with the ventilation and condensation control ports on the roof.
If you want to use a propane heater, you just need to make sure to vent properly or it could be dangerous, as propane heaters produce CO2. If you choose this route, make sure to use proper safety meter devices with alarms.
If you're going out with no heater and relying simply on body heat just remember, it's a big space so make sure to bring ALL your friends! But in all seriousness, a single person will raise the internal temp of a Basecamp 7-10 degrees, so the more bodies you add the warmer it gets.
When it’s wet and rainy out -
Setting up correctly for the rain is important and easy. First, decide if you need to use a footprint - if the ground is already wet, then the answer is YES. If the ground is dry but you know it's going to rain later you don't necessarily need the footprint, but this is left up to your own judgment.
Once your Footprint is set up, deploy your Basecamp. Next roll your footprint at each side of your shelter and tuck it under the skirt, placing the rolled material under the shelter but in the little void on the inner side of the wall. When you get to the landing pad part of the footprint, fold it in half and in half again and then roll and be sure to stuff that material nicely. Lastly, go around the shelter and tuck the attached skirt under the shelter as well, leaving no place for water to accumulate.
Once you've rolled and tucked that footprint, set up the Rainfly included in the Weather Pack - remember to stake down those wings as far from the shelter as space allows, as the more water you sheet away from the shelter, the better. A little tip is that you can use one stake for both the wall and the fly, just make sure wind conditions aren't high, as this will put double the strain on that stake.
At this point you're ready for the wet stuff, you can now use your windows even during full rain to take full advantage of all of your Basecamp’s ventilation.
When it’s windy out -
The Basecamp is a fortress of a shelter, with the extra tension engineered into the walls of the Basecamp we have field tested it in all wind conditions.
If you don't feel like staking it down, which in most cases is fine, our Basecamp has been tested to around 25 mph gusts.
Planning on getting hit by high winds? Make sure to stake your shelter down properly, Use your included screw stakes and paracord to tie down to the steel eyelet at the center of each wall. Tie off and come down at a 45 degree angle making sure your stake is secured and strong, and you are now ready to withstand wind speeds of over 80 mph. Remember, for high winds use separate stakes for your shelter and your rainfly.
Shipping & Returns
FREE SHIPPING TO ALL US STATES (EXCEPTIONS APPLY)
(Excluding Puerto Rico, Hawaii, Alaska)
Lead Time - Ships within 2-5 Business Days
We partner with the most reliable freight companies in the USA to ensure your order arrives safe and in a timely manner.
Your Item will ship from warehouses all across the United States to ensure fast and efficient delivery times for our customers.
If there are any delays regarding your product shipment, we will let you know in advance.
Cancellations & Refunds: Solssentials prides itself on having one of the best return policies in the industry.Cancel any time before your order has shipped, completely free of charge (exceptions apply, including custom made orders).
As soon as you place your order, you will receive an order confirmation e-mail. This means that we have received your order in our system and pre-authorized your credit card for the purchase. As soon as we receive your order, we automatically reach out to our suppliers to confirm that it is in stock and available for immediate shipment. If your item is on backorder or unavailable, we will void the pre-authorization and reach out to you via e-mail. If your item(s) are available for immediate shipment (within 5 business days), we will process the charges and submit the order for shipment. If, for some reason, there is a delay in stock, we will contact you before accepting payment.
When will my order ship?
If your order is in stock and we process the charges to your credit card, it will ship within 2-5 business days from the date of your order. We will send you tracking information within 24 hours of your order leaving the warehouse to the e-mail address you provided when checking out. If you do not receive tracking information from us within six business days of your order, feel free to follow up with us at support@solssentials.com.
Cancellations & Refunds: At Solssentials, we pride ourselves on having the best return policies in the industry. Cancel your order any time before it ships completely free of charge (exceptions apply such as custom orders, see below).
If you need to cancel an order, please contact us as soon as possible so we can refund you in full before your order leaves the warehouse. Reach agents during business hours at +1 (833)322-6289 the chat in the bottom right, or email support@solssentials.com any time.
Cancellations of Custom Orders
Custom or made to order products cannot be canceled or refunded as these products are put into production specifically for your order.
These units, are custom made to your specification or created once you order. Once you place your order they start building your unit. Your warranty will guarantee you a fully functional and operational product. If it is not clear whether your order is custom or made to order, please message or call us.
All sales are final for Custom made and Made-to-order products.
Refunds and Returns
If you need to exchange your product, you may do so. You, as the customer, are responsible for any shipping costs throughout any returns and exchange processes.
Not all orders are available for return once they have shipped. We order our products directly from the manufacturer. Therefore, if the manufacturer will not permit us to return a product, we cannot offer you a return. This often varies on a case-by-case basis; please reach out to us if you would like specific information on your brand and/or product.
Due to drastically increasing LTL/freight shipping costs, any outright returns will incur 25% cancellation fee + return shipping costs. If you are replacing the product with something else, we may be able to help you cover some of the costs depending on the product.
Shipping Times
We promise to do our best to get your order to you as soon as possible. We provide estimated shipping times on the product pages based upon what our suppliers and freight companies tell us, and those estimated shipping times may change or vary without notice (Due to supply chain issues, the steel mills behind on making metal, the manufacturers delayed because of the mills, the overwhelmingly demand on shipping, factory/warehouse and dock workers and so on).
Order delays have proven to be unavoidable and outside of Solssentials control. While this might be frustrating, we ask you to please be patient and understanding with us in these tough times. We thank you for your business and appreciate your patience.
Warranty
Warranties vary depending upon the manufacturer - see individual product pages for details. Warranty damages occur over time and from use. If an item was damaged upon arrival, and not reported within 30 days, that is not a warranty claim.
BY USING THE SITE, YOU AGREE TO THESE TERMS OF USE; IF YOU DO NOT AGREE, DO NOT USE THE SITE.
Overland(ish) Warranty
Limited Warranty
Overland(ish) branded products covered by this warranty are warranted to the original owner against manufacturing defects in materials and workmanship for 1 year. This warranty applies to all Overland(ish) branded products except product marked as not covered by warranty on the product’s packaging, hangtag and/or label, and product purchased from an unauthorized dealer or seller.
If your product covered by this warranty fails due to a manufacturing defect, we will repair it without charge, or replace it, at our discretion. Only original, unaltered and unmodified items and workmanship are covered. This warranty does not cover damage caused by accident, improper care, negligence, normal wear and tear, or the natural breakdown of colors and materials over extended time and use.
The products eligible for the limited warranty are covered to the original owner, for the period specified above.
Overland(ish) Returns Policy
Please Note: All returns must follow the manufacturer’s return policy guidelines. Specific return conditions, restocking fees, and processing times may vary depending on the manufacturer. We have a 30-day return policy, which means you have 30 days after receiving your item to request a return.
Returns All returns are subject to a 20% restocking fee. All returns will also be subject to all shipping charges incurred while shipping any product to you as well as back to Overland(ish), even if a Free Shipping promotion was applied to your order.
Cancellations For any orders that have been placed but not fulfilled, a 3-6% cancellation fee will be subtracted from your full return amount. This fee simply covers the transaction fees that our payment processors do not refund us, even if an order is immediately canceled.
Exceptions to this policy include:
If you ordered the wrong size/color/option of one of our products by mistake and would like to edit your order. Or you would like to order a different item. Please contact us immediately via email so we can edit your order before it ships at support@overlandish.com.
If the item(s) on your order is currently on backorder for more than 4 months.
To be eligible for a return, your item must be in the same condition that you received it, unworn or unused, with tags, and in its original packaging. You’ll also need the receipt or proof of purchase. Items such as tents must not touch dirt and must be inspected before use.
To start a return, you can contact us at support@solssentials.com. If your return is accepted, we’ll send you a return shipping label, as well as instructions on how and where to send your package. Items sent back to us without first requesting a return will not be accepted.
You can always contact us for any return question at support@solssentials.com.
Damages and issues Please inspect your order upon reception and contact us immediately if the item is defective, damaged or if you receive the wrong item, so that we can evaluate the issue and make it right.
Exceptions / non-returnable items Certain types of items cannot be returned, like products that have been worn or used. Please get in touch if you have questions or concerns about your specific item.
Unfortunately, we cannot accept returns on sale items or gift cards.
Exchanges The fastest way to ensure you get what you want is to return the item you have, and once the return is accepted, make a separate purchase for the new item.
Refunds We will notify you once we’ve received and inspected your return, and let you know if the refund was approved or not. If approved, you’ll be automatically refunded on your original payment method. Please remember it can take some time for your bank or credit card company to process and post the refund too.
Basecamp SOLO Key Features
New 4" multipurpose wall ports: Perfect for running wires for heaters, AC units, or lighting.
Wire management system: Keep your lighting cables organized and out of the way.
Reinforced corners: Built tougher for extra durability, making your Basecamp ready for anything.
Color options: Olive Drab Green, Stealth Black and Storm Gray for a stylish new look.
Triple-layer insulation: Keeps you warm in winter and cool in summer. It’s water-resistant and wind-resistant when staked down properly.
Easy setup and breakdown: The tension beam internal structure allows for a quick setup in just minutes, and breakdown is equally simple.
Unzip floor: Removable floor makes cleaning a breeze.
Heavy-duty screw stakes: For secure anchoring, even on tough terrains.
Tote bag included: For easy transport and storage.
Overlandish Basecamp SOLO Specifications
Dimensions: 80" x 80" (6'8" x 6'8")
Interior Height: 6'6"
Floor Space: 45 sq. ft.
Packed Down Length: 4'6" x 10" x 10"
Weight: 30 lbs
AC/Heater Ports: 2
AC/Heater Port Size: 4"
Zippers: YKK Heavy Duty Zippers
Material: Heavy-duty insulated fabric, triple-layer construction for thermal regulation (water-resistant and wind-resistant)
Floor: Removable, upgraded thickness for enhanced durability
Ventilation System: Bug-resistant mesh on doors, removable window panels (both clear and mesh), sealable roof vents for air circulation control
Wall Ports: Two 4" multipurpose wall ports designed for power cables, heating units, or AC connections
Poles: Carbon poles for enhanced strength and reduced weight
Wind Kit: Includes screw stakes and guy lines for stability in high winds
Included Accessories: Canvas tote bag for transport, wind kit, and screw stakes
Optional Accessories: Weather Pack (includes footprint, rainfly, extra stakes, and guy lines), Tough Bag (sold separately)
Color Options: Black, Gray, Olive Drab Green
Quick & Easy Setup
The SOLO sets up in under a minute. Just unfold the tent, pull the 4 sides, and push the roof into place.
Spacious Interior
45 sq. ft. of interior space,measuring 6'8" x 6'8" and an interior height of 6'6" offers plenty of space for comfort while maintaining a portable, compact size for any adventure.
Heavy Duty Quilted 3 Layer Insualtion
Whether it’s sub-zero temperatures or sweltering heat, this tent with insulation provides the perfect balance—warmth when you need it and cooling when you don’t.
3 Layer Windows
Experience the perfect blend of insulation, visibility, and airflow with our 3-layer window system. The insulated zippered layer keeps warmth in, the clear poly provides a crystal-clear view, and the mesh offers breathable airflow when you need it
Compact Design
Designed to be lightweight and portable without sacrificing durability or comfort. Stowed, the Basecamp SOLO is just 4'6" and weighs only 30lbs.
Dual Entryways with Double-Layered Mesh Doors
Designed for convenience, the tent features two entryways with double-layered mesh doors. Enjoy enhanced ventilation, easy access, and extra protection from insects
Dual 4" Wall Ports
Dual 4" wall ports for easy access to cables, portable AC units, or heaters, ensuring comfort and convenience on your adventure
FAQ's
What size cot fits in the solo tent?
The Basecamp SOLO has a 78" x 78" interior footprint, so a 78" cot would fit fine, you would just need to pull it away from the wall on its long side about 8".
To maximize space in your SOLO, a 75" cot fits snug up against the wall, and for taller folks, an 82-84" cot can be set up in the middle of the Basecamp SOLO where the walls are pushed farthest out.
How much does the Basecamp Solo weigh?
The Basecamp SOLO by itself is 30 lbs, its weather pack is 5 lbs and The SOLO tough Bag is 8lbs.
Does insulation work for both hot and cold?
YES! insulation works just as good in the heat as it does in the cold!
It keeps the warmth in when it's cold and the heat out when it's hot...pair that up with the best and most amount of ventilation and you have yourself a perfect com
How fast do these set up?
Your first time setting up it may take you about 90 seconds, but once you get good and fast you can have it up in 30 seconds and back in the bag in about a minute.
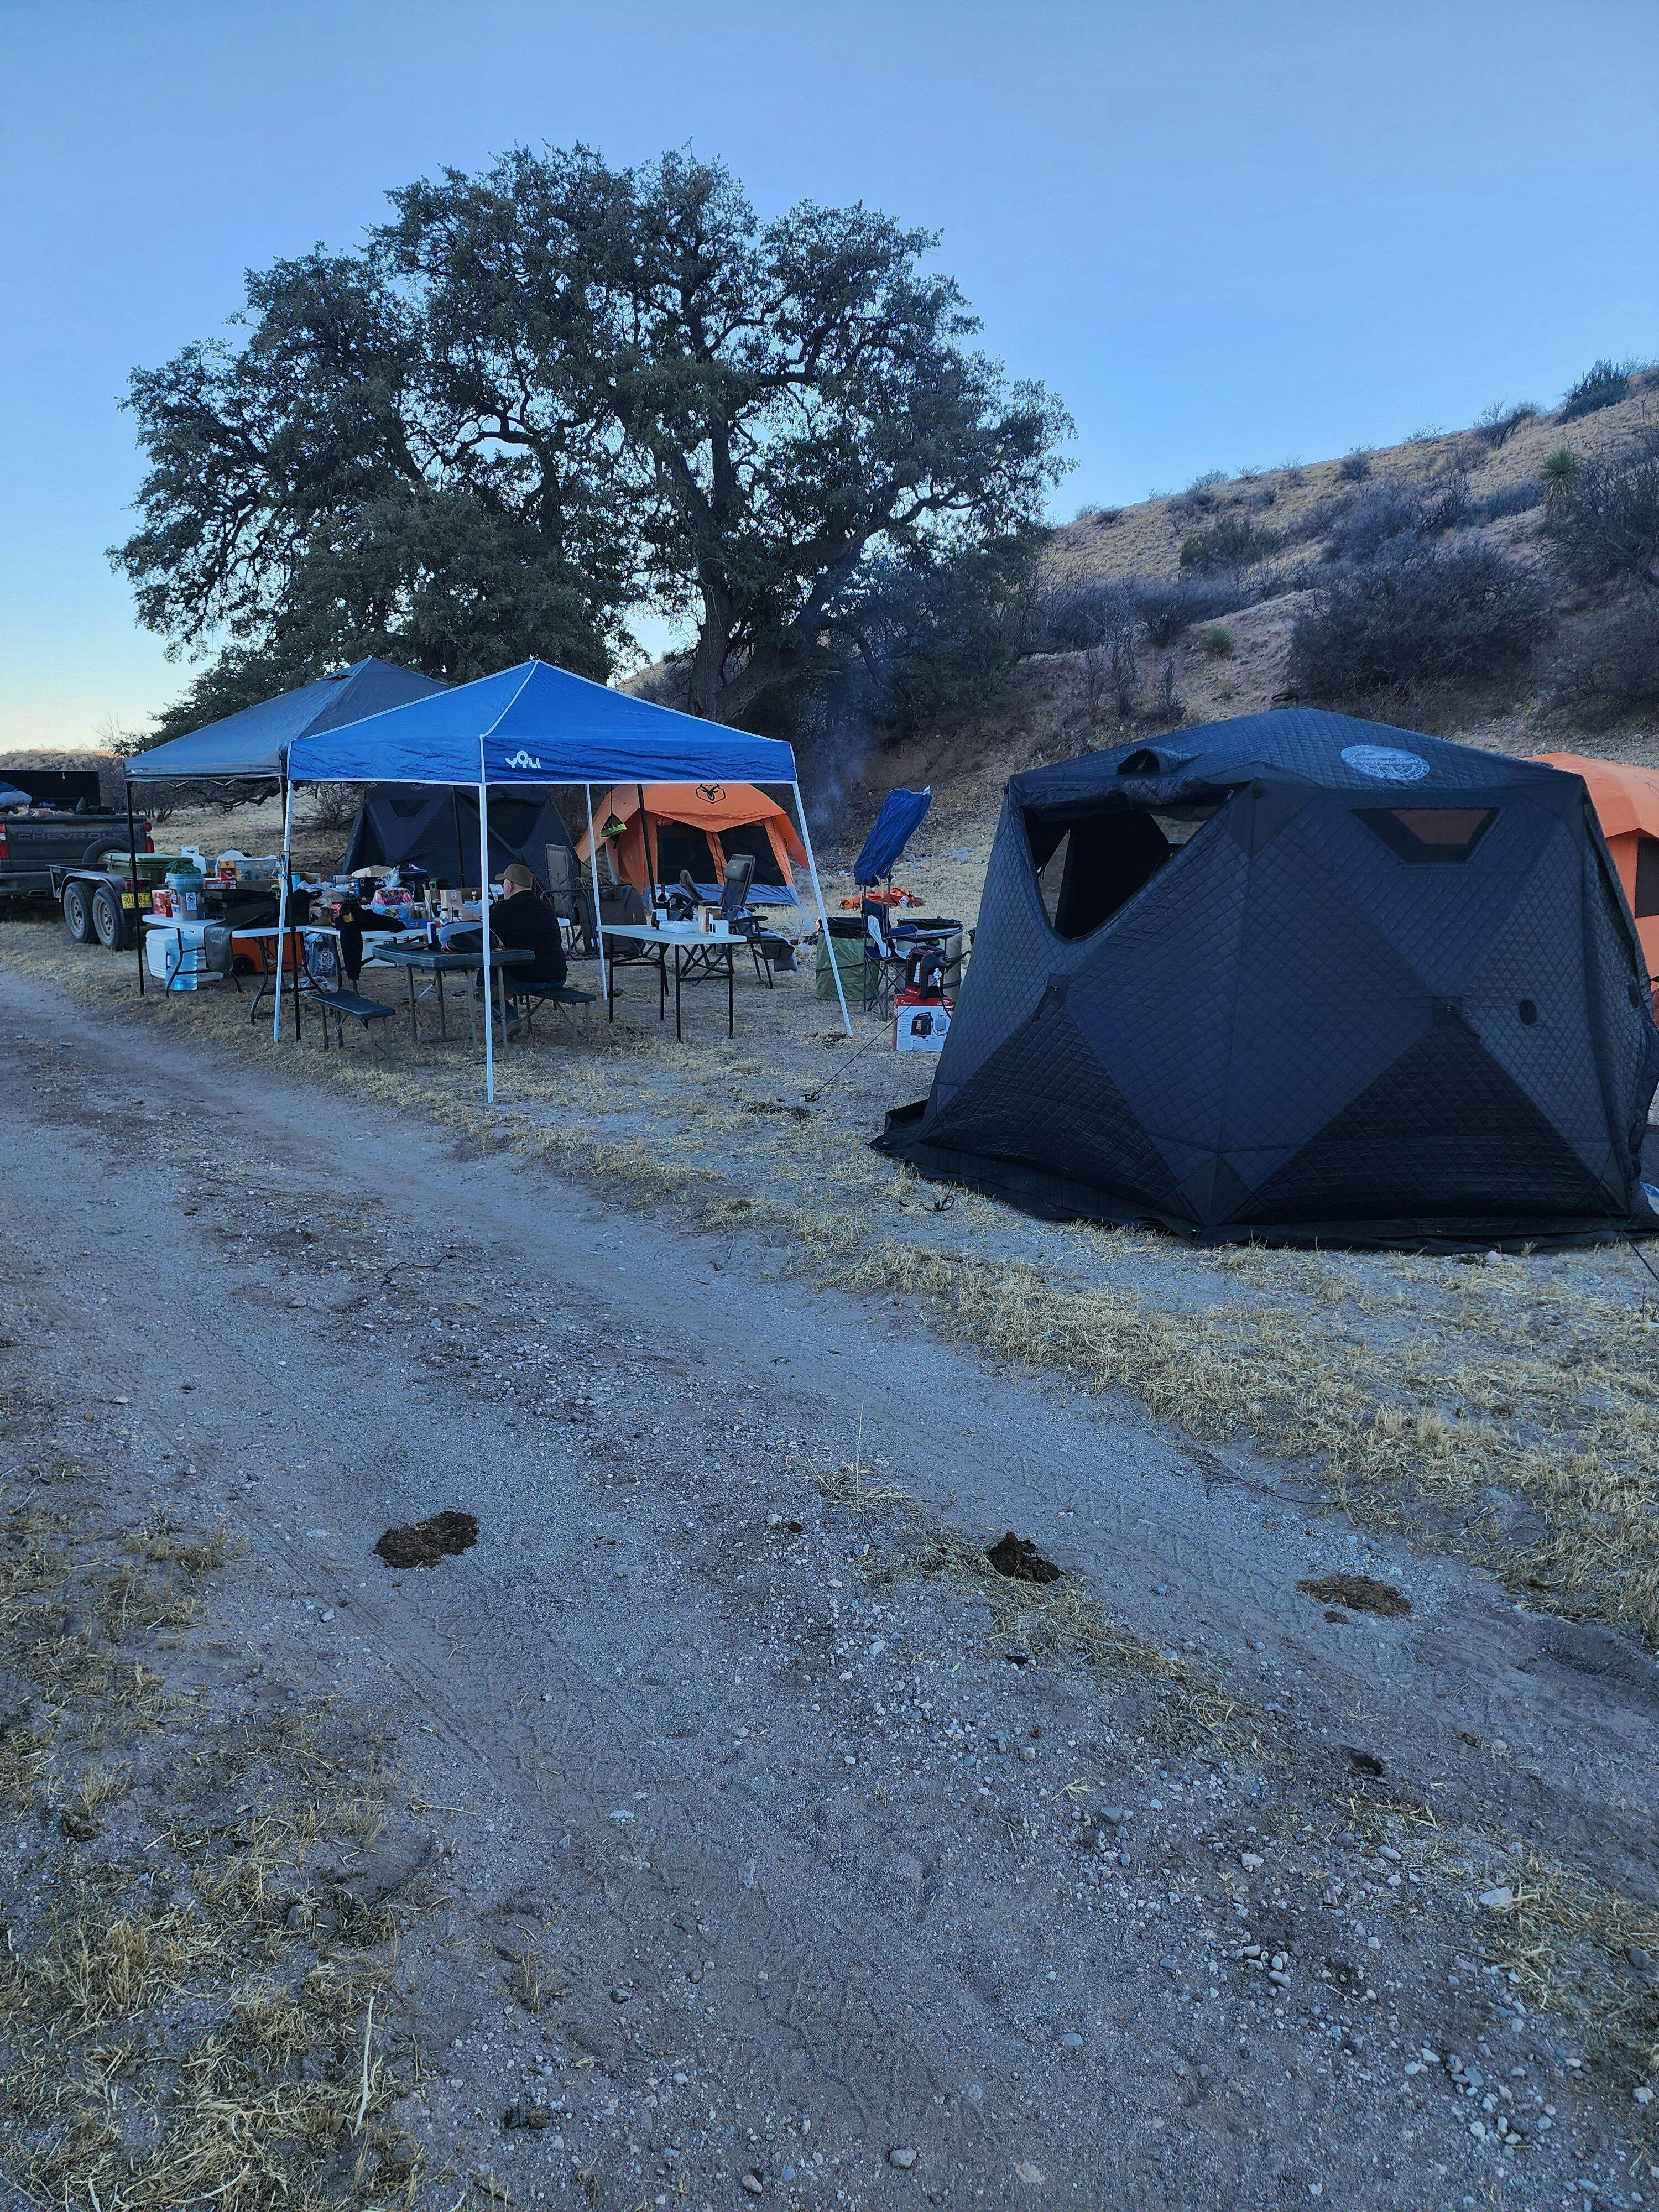
We camped next to our brothers in their Gazzelle s. Nights got down to 40ish degrees. Used heater buddy's and slept comfortably. Easy set up/break down.
J
Jacob M.
Overall nice tent!
I’ve taken it out twice now with some cold weather camping and it held heat very well!
F
Frank
Overlandish Basecamp Black
Tent is awesome! My brother will probably get his soon. Easy to set up!
J
Jonathon Kelley
One and Done
Purchased the Basecamp V2 Weather Pack for back territory excursions in our Bronco. Though a bit on the heavy side, the overall quality and easy of setup is second to none. Ample room, well insulated, ease of setup/breakdown, heater ports, are just a few of the many features which convinced us to purchase. Can’t beat the customer service experience from Solssentials as well!
J
James Carter
Overlandish Basecamp tent
This tent is a fabulous product, easy setup and take down. My new home from home. Which is what I was expecting after researching it. But what has blown me away was the exceptional quality of the customer service of Solssentials.
They went above and beyond during this process helping with the order to include providing the delivery notices. Fantastic job by them