
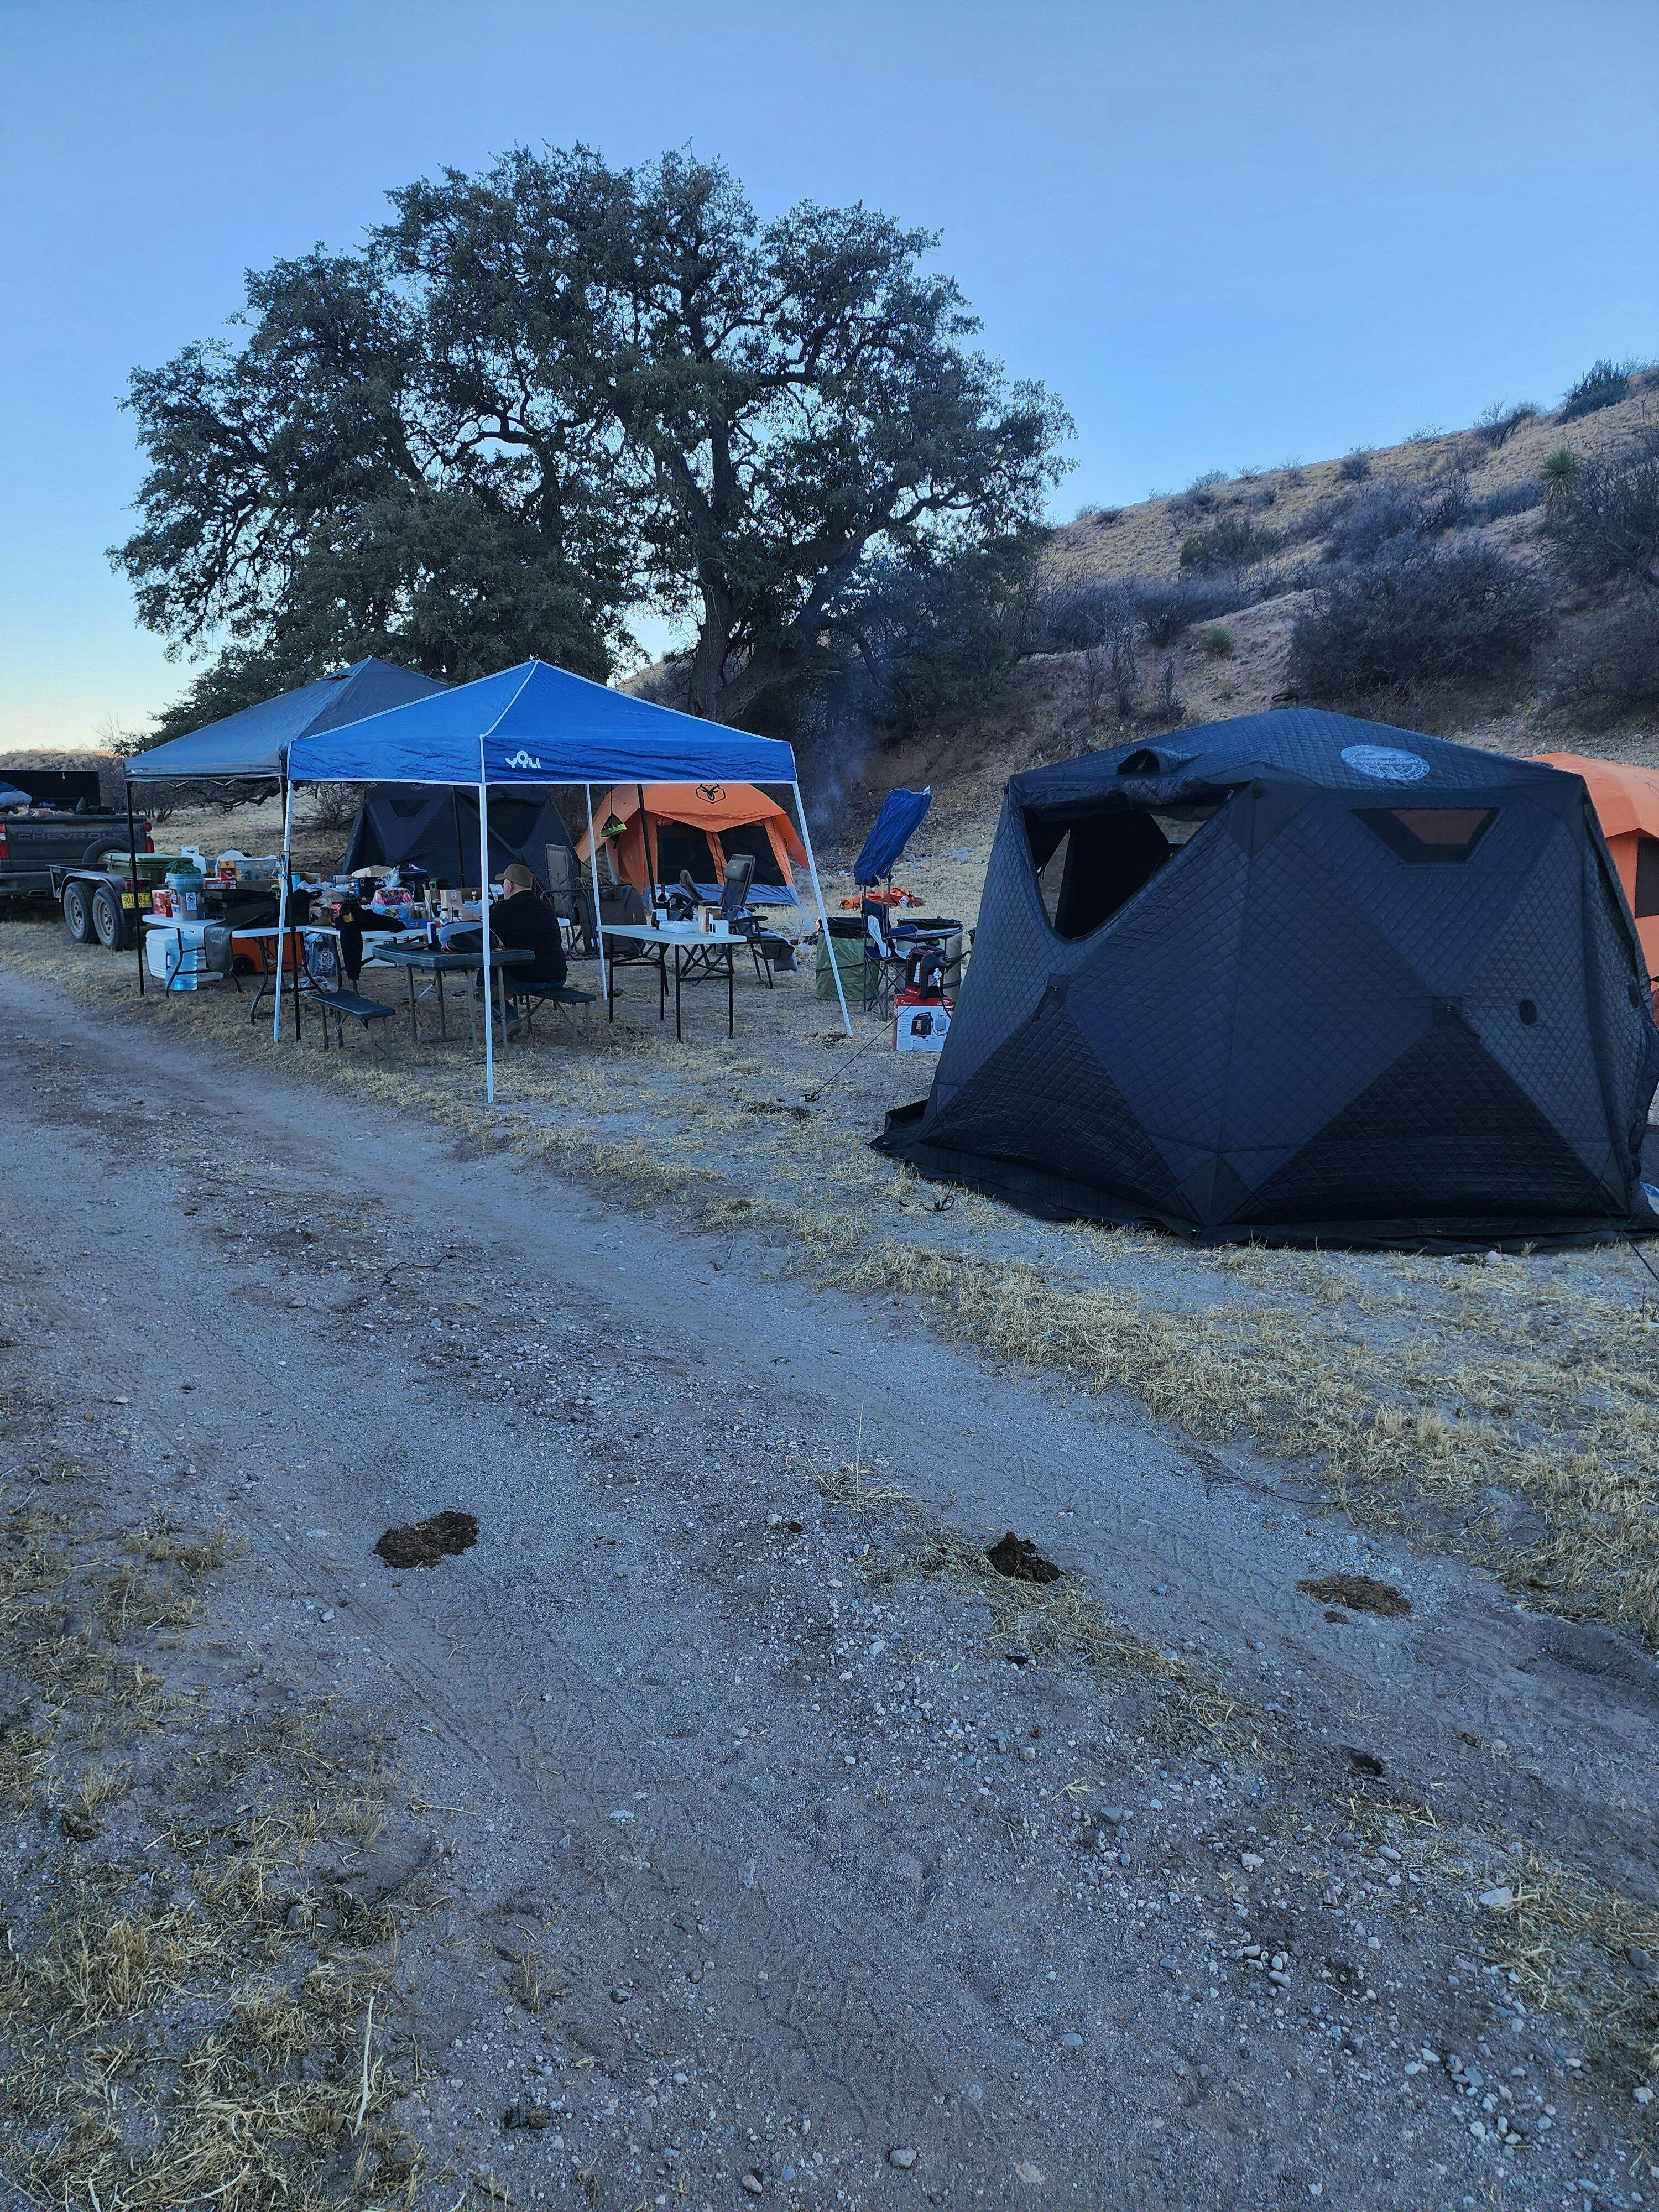
Overlandish Basecamp Tent
Now Taking PREORDERS
Restocking order arrives April 19th. Orders will start shipping out April 21st!
(833)322-6289
support@solssentials.com
Mon-Fri: 9am-5pm EST
(833)322-6289
support@solssentials.com
Mon-Fri: 9am-5pm EST
Now Taking PREORDERS
Restocking order arrives April 19th. Orders will start shipping out April 21st!
The Overlandish Basecamp Ground Tent is your gateway to unforgettable outdoor experiences. Whether you're exploring remote trails or enjoying a peaceful weekend getaway, this tent becomes your secure, comfortable base in nature. Its triple-layer insulated shell adapts effortlessly, keeping you cool in the summer and warm in the winter, ensuring comfort in every season. With quick setup, a spacious 96 sq ft interior, and convenient features like three-layer windows, sealable roof vents, and an easy-clean, removable floor, you can focus on what really matters—creating memories and connecting with nature.
A new LOW wall window/venting system for true passive cooling - plus use them to check out your surroundings while still in bed!
New Tub floor! Zippers are 5.5" up the wall to make your Basecamp even more versatile and waterproof.
New Storm Shutters - an outside protective layer for every window to make the Basecamp EVEN MORE impervious to the elements.
New FULL COVERAGE rainfly featuring built-in windows with under-wall ventilation, adjustable side windows, and roof vents. Part of the optional Weather Pack
Updated 6.25" Wall Ports
New Tan Color Option Available!
Standard with All Tents
Weather Pack Upgrade
Tough Bag Option
Specifications | Details |
Internal Floor Area | 96 sq. ft. |
Long Diagonal | 12 ft. |
Short Diagonal | 10.5ft |
Packed Dimensions | 4'11" x 15" x 15" |
Weight | 62 lbs |
Center Height | 6'9" |
Material | Heavy-duty insulated fabric, triple-layer construction for thermal regulation (water-resistant and wind-resistant) |
Floor | Removable Tub Floors (5.5" Up the Wall) |
Zippers | YKK high-quality zippers throughout for long-term durability |
Ventilation | Bug-resistant mesh on doors, removable window panels (both clear and mesh), sealable roof vents for air circulation control |
Wall Ports | 6.25" multipurpose wall ports for wires, heaters or AC units |
Poles | Carbon poles for enhanced strength and reduced weight |
Wind Kit | Includes screw stakes and guy lines for stability in high winds |
Included Accessories | Canvas tote bag for transport, wind kit, and screw stakes |
Optional Accessories | - Weather Pack (includes footprint, rainfly, extra stakes, and guy lines) - Tough Bag (sold separately) |
Color Options | Olive Drab Green, Stealth Black, Tan |
Capacity | Fits up to 6 adults on the floor, four cots with gear, or a queen sized mattress |
The Standard Basecamp sets up in just minutes. Just unfold the tent, pull the 6 sides, and push the roof into place.
We are taught that black is hotter than white because white reflects the sun and black absorbs it..this is correct. But when the material is fabric the absorption is almost instant, and when the sun goes away the dissipation is just as fast, because fabrics don't retain heat the way metals and concretes do, so black and white fabrics will both reach the same final temperature. The only difference will be how much time it takes.
Now, using insulated fabric means you have multiple layers for that heat to have to transfer through, and the insulation helps to prevent that.
Pair this up with our insane amount of ventilation and you have the only shelter that has the ability to be cooler than outside without an AC unit.
The temperature difference between the three colors of insulated shelters is marginal at best. So choose your tent based on what color you like.
Upon receiving your Overland(ISH) Basecamp Shelter, please start by removing everything from its packaging and taking note that you have all the items.
Now it's time to set up your shelter for the first time.
It's best not to open your shelter on cement or asphalt. A grassy open space or in your home on a slick surface or carpeting works great. For a first time setup and inspection, the footprint is not necessary.
Your floor will be half zipped in but attached, so be careful about pulling any loose material, as you might accidentally damage a zipper. Complete the unfolding of the Basecamp so that the roof is parallel to the ground. Now walk around the shelter, and one by one, grab the center pull strap attached to the eyelets for each wall, pulling out each wall until they pop into place. Once they are all set up, step inside and push the hub on the roof up until it pops into place - and that's it! Now it's time to start making your shelter a home!
Now since this is the first time you're opening your new Basecamp Shelter, let's just make sure everything is A-OK. Inspect it all now before you take it out into the wild. Remember when pulling your shelter out of the box that the floor is half zipped so don't go tugging on some random piece of material - this could damage a zipper. Once your shelter is deployed, walk around the outside, making sure that all the eyelets are nice and snug. If there are any loose eyelets, now is a good time to tighten them up.
The zippers on your new shelter might start out a little difficult to pull, due to tension in the fabric. This is normal, and as the material breaks in like your favorite pair of jeans, the zippers will become easier to pull. These are high quality YKK zippers, they can handle it!
If you purchased the Weather Pack, pull out the footprint and lay that out now. Next, grab your Basecamp and bring it to the center of your footprint (if being used) with the hubs touching the center of the footprint.
Lay your shelter on its side with the hub in the center of your footprint and remove the strap. Unfold your shelter gently and make sure you take note of the inside versus the outside material. The poles are on the inside of the shelter, and all of the logos are on the outside. Take care to not open the shelter inside out. We are not responsible for any damages caused by incorrectly opening the shelter.
Find your Weather Pack and remove your Rainfly. Making sure the logos are facing the sky, throw it over the roof of your Basecamp Shelter. If you need to, you can always drop the roof from the inside of the shelter as it may make it easier for you. (Note that under each wing of your rainfly there is a loop for ease of setup for one person in adverse weather conditions).
Once you have the Rainfly lined up so that the roof vents are in line with each other, walk around your shelter attaching the straps under the wings of the Rainfly to each of the eyelets on the exterior walls. Once you have all sides connected, use your included screw stakes and guy lines to secure the fly to the ground. Start by removing your first Rainfly wing from the eyelet and with the stake/guyline set, pull the wing of the shelter as far from that shelter as possible. This is important, as the farther you pull it out the more ventilation you get. It can be set up as close or far as you like, there is no “correct” distance. Finish by walking around your shelter securing each wing (try to keep the distances from the shelter as uniform as possible - because we all like a good looking campsite, of course!)
The Basecamp Standard tent by itself weights 60 lbs. If you purchase the separate Weather Pack add 8lbs, and the Tough bag is another 7 lbs.